Let’s be honest: Kubernetes (K8s) has a steep learning curve. For many developers coming from traditional server management or even Docker Compose, stepping into the world of Kubernetes can feel like trying to learn a new language while simultaneously learning how to fly a plane. The terminology alone—ReplicaSets, Ingress, DaemonSets—is enough to make your head spin.
However, understanding Kubernetes is non-negotiable in modern DevOps. It is essentially the Operating System of the Cloud, a platform designed to manage containerized applications at scale. But to master it, you need to look past the YAML configurations and understand the hierarchy that powers it.
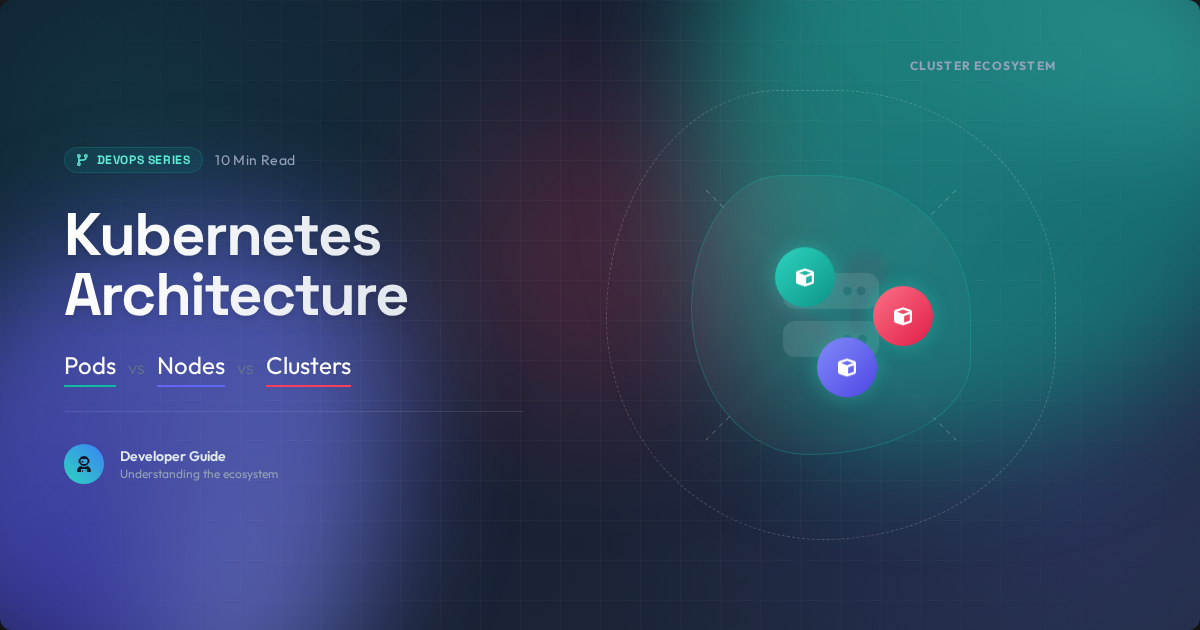
In this article, we are going to strip away the complexity. We will break down the architecture into its three fundamental layers using a simple manufacturing analogy: The Cluster (the factory), The Node (the machine), and The Pod (the product). By the end, you will understand how the Control Plane, Worker Nodes, and networking glue fit together to keep your applications running.
1. The Big Picture: What is a Kubernetes Cluster?
At its highest level, a Kubernetes Cluster is the aggregate of all available computing resources—CPU, RAM, and Storage—that you have at your disposal. Whether you are running on AWS, Google Cloud, or a rack of bare-metal servers in your basement, Kubernetes sees them all as a single entity.
The Factory Analogy
Think of the Cluster as a massive manufacturing plant. This plant has a specific goal: to run your applications reliably.
- The Floor: This is where the actual work happens. In Kubernetes, this is the collection of machines running your apps.
- The Management Office: This is where decisions are made. In Kubernetes, this is the specific set of services that manage the state of the system.
The Two Main Roles
Physically, a cluster is made up of individual servers, but logically, Kubernetes divides these into two distinct roles:
- The Control Plane: The management layer that controls the cluster.
- The Data Plane (Worker Nodes): The compute layer where your workloads actually run.
Why this matters: The beauty of the Cluster is abstraction. You no longer care which specific server your application runs on, just as a factory manager doesn't care which specific conveyor belt creates a widget, as long as the widget gets made. You treat the entire fleet of servers as a single super-computer.
2. The Control Plane: The Brains of the Operation
If the Cluster is the factory, the Control Plane is the headquarters. It makes global decisions (like scheduling), detects and responds to cluster events (like a server going down), and maintains the configuration of the entire system.
The Control Plane consists of four critical components:
1. API Server (kube-apiserver)
This is the front door. Whenever you run a command like kubectl apply -f my-app.yaml, you are talking to the API Server. It is the only component that directly interacts with the cluster's database. It validates requests and updates the state of the cluster objects.
2. etcd
etcd is the brain's memory. It is a highly available, consistent key-value store used for all cluster data. Every configuration detail and every status report is stored here. If etcd is lost, the cluster is lost.
3. Scheduler (kube-scheduler)
Think of the scheduler as the matchmaker. When you ask to run a new application, the Scheduler looks at your request (e.g., "I need 2GB of RAM") and looks at the available Worker Nodes. It decides which Node is the best fit for the new workload. It doesn't actually run the workload; it just assigns it.
4. Controller Manager (kube-controller-manager)
The Controller Manager is the regulator. It operates on a simple loop: compare the current state of the cluster to the desired state. If you asked for 3 copies of your web server, but one crashed and only 2 are running, the Controller Manager notices the discrepancy and triggers the creation of a new one.
3. The Nodes: The Worker Bees
A Node is a worker machine in Kubernetes. It can be a physical server or a Virtual Machine (VM). Without Nodes, the Control Plane is just a manager with no one to manage.
Every Node contains three essential components to do its job:
1. Container Runtime
This is the software responsible for actually running the containers. While Docker Engine was the standard for years, modern Kubernetes often uses containerd or CRI-O. It handles the low-level work of pulling images and starting processes.
2. Kubelet
The kubelet is the primary "agent" that runs on every Node. It is the liaison between the Node and the Control Plane.
- The Control Plane says: "Hey Node 1, run this Pod."
- The Kubelet accepts the order, instructs the Container Runtime to start the container, and reports back: "Task started."
3. Kube-proxy
This component manages network rules on the Node. It allows network communication to your Pods from inside or outside the cluster. It ensures that traffic destined for a specific service actually reaches the correct container.
4. Pods: The Atomic Unit of Kubernetes
Here is the most common point of confusion for beginners: Kubernetes does not deploy containers directly; it deploys Pods.
Definition and Structure
A Pod is the smallest deployable unit of computing that you can create and manage in Kubernetes. A Pod creates an execution environment (a wrapper) that holds one or more containers.
While most Pods contain only a single container (your app), there are valid use cases for multi-container Pods, such as adding a "sidecar" container to handle log shipping or proxying.
# Example of a Pod with a main app and a sidecar
apiVersion: v1
kind: Pod
metadata:
  name: my-app-pod
spec:
  containers:
  - name: main-app
    image: my-company/web-app:1.0
    ports:
    - containerPort: 80
  - name: sidecar-logger
    image: busybox
    command: ["/bin/sh", "-c", "tail -f /var/log/app.log"]
Shared Context
Containers within the same Pod are tightly coupled. They share:
- Network: They share the same IP address and port space. They can talk to each other via
localhost. - Storage: They can mount the same storage volumes to share data files.
The Ephemeral Nature of Pods
Pods are mortal. They are born, they live, and they die. When a Pod dies (or the Node it runs on fails), Kubernetes does not "heal" that specific Pod. Instead, it replaces it with a brand new one (with a new ID and IP).
Analogy: If the Container is a passenger, the Pod is the taxi cab. The passenger needs the environment of the taxi to move around, but if the taxi breaks down, you don't fix the car on the side of the road—you get a new taxi.
5. Kubernetes Networking Basics: Connecting the Layers
How do all these moving parts talk to each other? Kubernetes enforces a Flat Network Model.
The "IP-per-Pod" Rule
Every Pod in the cluster gets its own unique IP address. This implies that any Pod can communicate with any other Pod in the cluster without Network Address Translation (NAT). It simplifies legacy application migration because apps can behave as if they are running on VMs on the same LAN.
Services: Solving the Ephemeral Problem
Since Pods are mortal, their IP addresses change constantly. If your frontend app talks to a backend Pod by IP, and the backend restarts, your app breaks.
To solve this, Kubernetes uses Services. A Service is an abstraction that defines a logical set of Pods and a policy to access them. It gives you a stable IP address (ClusterIP) that acts as a load balancer in front of the dynamic Pods.
- ClusterIP: Exposes the Service on an internal IP (default).
- NodePort: Exposes the Service on each Node’s IP at a static port.
- LoadBalancer: Exposes the Service externally using a cloud provider’s load balancer.
Ingress
While Services handle internal routing, Ingress manages external access to the services in a cluster, typically HTTP/HTTPS. It acts as the smart router for traffic entering the "factory" gates.
Conclusion
Kubernetes architecture can be visualized as a hierarchy of abstractions designed to keep your applications running no matter what happens to the underlying hardware.
| Component | Analogy | Function |
|---|---|---|
| Cluster | The Factory | The aggregate of all resources. |
| Node | The Machine | The server (VM/Physical) doing the work. |
| Pod | The Product/Taxi | The wrapper around your container. |
| Container | The Passenger | Your actual application code. |
Key Takeaway: Understanding these layers is crucial for debugging. If your app isn't working, knowing the architecture helps you ask the right questions: Is it a code error inside the Container? Is the Pod pending because of resource limits? Or is the Node itself offline?
Next Steps
Now that you understand the theory, inspect your own environment. If you have access to a cluster, run:
kubectl get nodesto see your worker machines.kubectl get pods -o wideto see your running applications and which Node they are assigned to.
In future posts, we will dive deeper into Deployments and StatefulSets, which are the controllers that manage these Pods for you automatically.
Building secure, privacy-first tools means staying ahead of the learning curve. At ToolShelf, we provide the utilities you need to streamline your development workflow.
Stay secure & happy coding,
— ToolShelf Team